10 Melted Crayon Pumpkin Tutorials
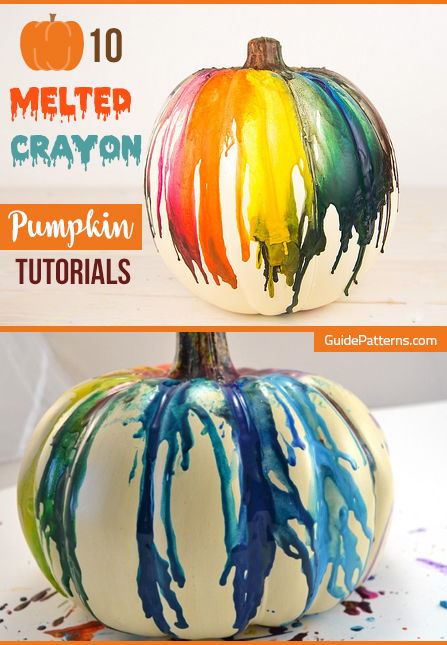
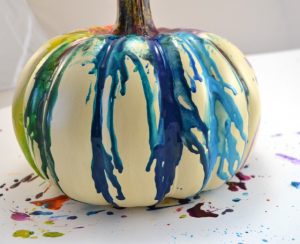
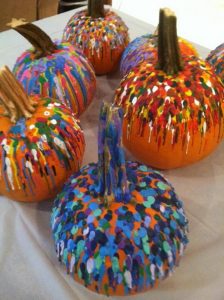
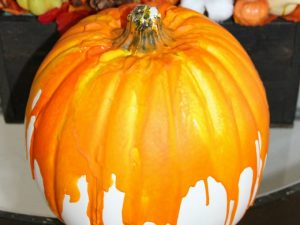
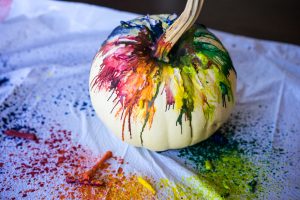
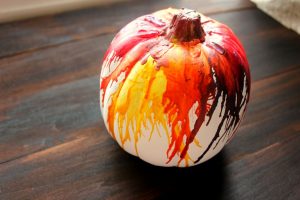
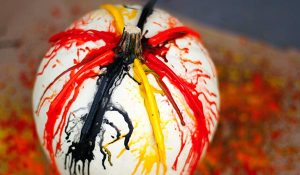
Halloween calls for different ideas of decorating pumpkins. Melted crayon pumpkins require no carving and are easy to make. They mainly need crayons, a hot glue gun and a heating tool. The melted crayons drip down the sides of the pumpkin creating fun patterns. It might get a bit messy so you can keep the surroundings neat by placing the pumpkin on a newspaper or inside a box that is open from the top.
1. Melted Crayon Pumpkin Directions
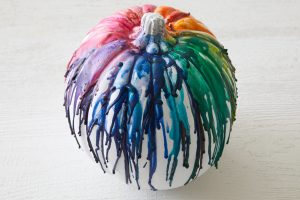
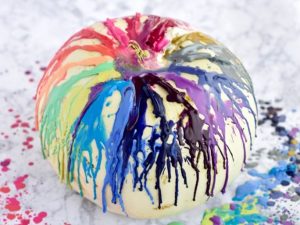
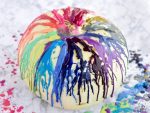
For this DIY, colorful crayons are arranged in a gradient around the stem; then the paper is peeled off them. You can use a faux white pumpkin for the project to make the colors stand out.
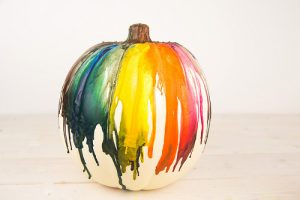
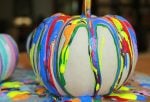
For this melted crayon pumpkin, you would need a white foam pumpkin, wax crayons, tacky glue and a blow dryer. First, you need to cut the crayons in half, glue them to the top of the pumpkin, allow complete drying and then use a hair dryer to melt the crayons.
3. Crayons Melting On a Pumpkin
This pumpkin is unique in a way that a flame is used to attach the crayons to it. You need to point the hairdryer at a downward angle to melt the crayons.
4. Decorating a White Pumpkin by Melting Crayons
You can make your pumpkin fall craft rainbow colored if you are bored of the conventional orange and black combination of Halloween.
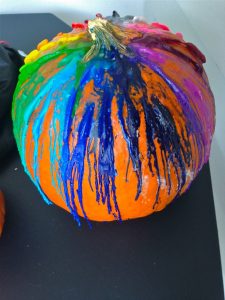
5. Crayon Melting Art on Orange Pumpkins
6. Decorating a Melted Crayon Pumpkin
7. Instructions for Melted Crayon Art on Pumpkin
8. Tutorial for Melted Wax Crayon Pumpkin
9. White Pumpkin with Crayons Melting
10. Spooky White Pumpkin with Melted Crayons
The dripping crayon art would add a cool twist to your Halloween decorations. The craft might require a few trial and errors before you get a cool pattern of your liking. Even if it gets a bit messy, don’t worry. The melted crayon pumpkins look good that way.
Published on March 25th 2019 by Peyton Derrida


